How To Connect ADT Camera To New Wi-Fi
KEY TAKEAWAYS
If you’ve changed your Wi-Fi network or need to reconnect your ADT security camera to a new Wi-Fi, follow these steps to set up the connection. ADT offers a diverse range of security cameras to suit different needs, including indoor and outdoor cameras, doorbell cameras, and HD Pro video cameras equipped with advanced video analytics.[1] Given this variety, the process of connecting each camera type to Wi-Fi may vary slightly. Therefore, it’s important to consult your user manual for specific instructions tailored to your particular ADT camera model.
1. Prepare Your New Wi-Fi Network
Before connecting your ADT camera to a new Wi-Fi network, ensure that your new network is set up and functioning correctly. Ensure your Wi-Fi router is powered on and you have the network name (SSID) and password handy.
2. Reset Your ADT Camera
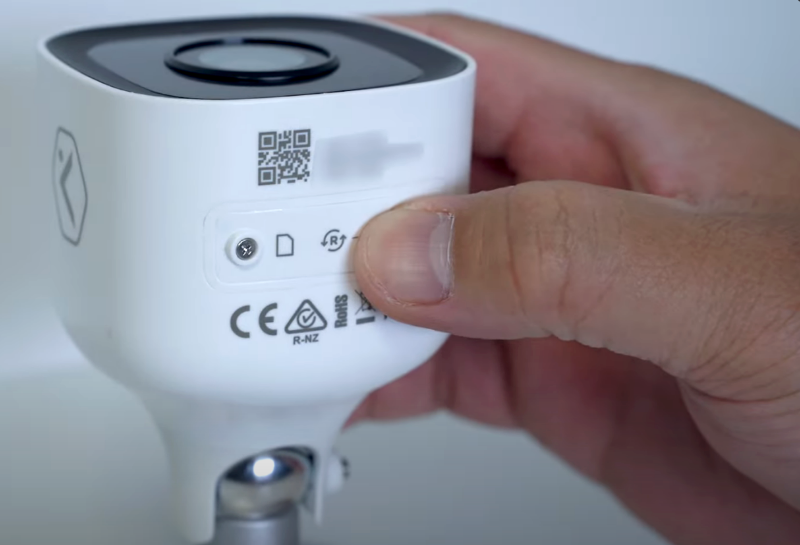
To connect your ADT camera to a new Wi-Fi network, you’ll need to reset it to its factory settings. Resetting the camera will erase any previous settings, allowing you to configure it for the new network.
- For indoor cameras: Locate the reset button on the back, usually found on the bottom. Press and hold the button for 10-15 seconds until the camera’s LED light begins flashing.
- For outdoor cameras: Disconnect the power cable, wait a few seconds, and reconnect the power. Locate the reset button and hold it for 10-15 seconds.
Wait for the camera to reboot and enter setup mode, indicated by a flashing LED light or a voice prompt.
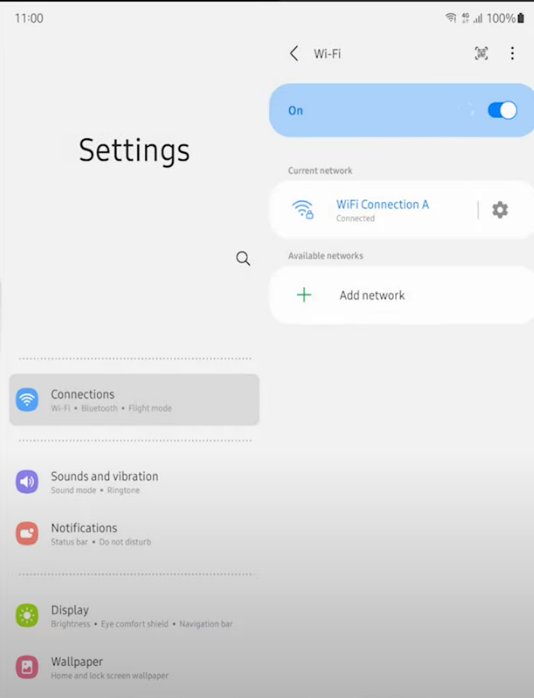
3. Open The ADT App
Open the ADT app on your smartphone and sign in to your account. If you don’t have the app installed, download it from the App Store or Google Play Store and create an account.
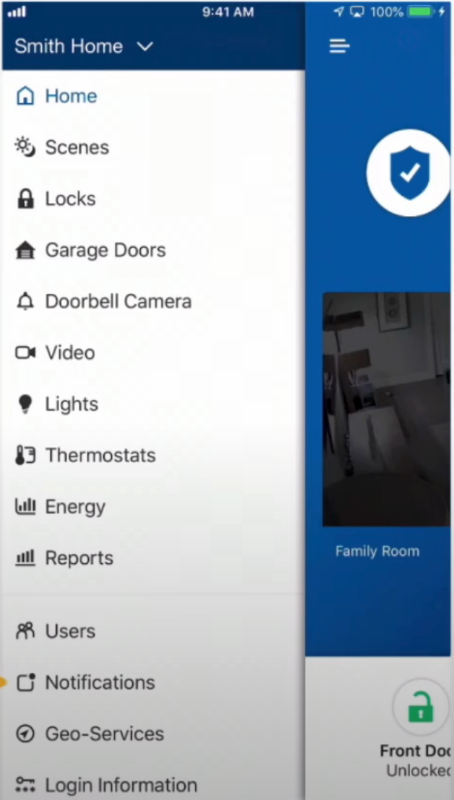
4. Add The Camera To The ADT App
Once signed in, tap the “Add Device” button or the “+” icon, depending on your app version. Select your camera model from the list and follow the on-screen instructions to add the camera.
5. Connect The Camera To The New Wi-Fi Network
During the setup process in the ADT app, you’ll be prompted to select a Wi-Fi network. Choose your new Wi-Fi network and enter the password when prompted. The app will configure the camera to connect to the new network.
Wait for the camera to establish a connection with your new Wi-Fi network. This may take a few minutes, and you should see a confirmation message or a solid LED light on the camera once the connection is successful.
6. Verify The Camera Connection
After connecting your ADT camera to the new Wi-Fi network, test the camera feed in the ADT app to ensure it’s functioning correctly. Verify that you can view live footage and that the camera is responsive to commands from the app.
Alternative Ways to Reset the ADT Pro Cameras
Once you have verified that the camera is working correctly, you can adjust the camera’s settings to suit your needs. This includes setting the motion detection zones, setting the recording schedule, setting up alerts, and more. For those using ADT Pro cameras, the advanced Video Analytics (VA) feature is particularly beneficial.
It can recognize people, vehicles, and animals, allowing you to set specific criteria for triggering alerts, thereby enhancing the precision and relevance of your security system. If your camera setup doesn’t work as expected, you may check our article on what you need to do if your ADT doorbell camera is not working.
In addition to these features, you can also configure the camera to work with other home automation devices, such as smart lights and door locks, to enhance your home security further. With all these settings in place, including the sophisticated capabilities of Video Analytics in ADT Pro cameras, you can rest assured your ADT camera is now connected to the new Wi-Fi network and will be able to keep your home safe.
Advanced Setup Tips and Troubleshooting for ADT Cameras
Setup Tips:
- Check Compatibility: Ensure your Wi-Fi router’s frequency band (2.4 GHz or 5 GHz) is compatible with your ADT camera model.
- Optimal Placement: Place your camera and Wi-Fi router within a reasonable distance to avoid signal interference from walls or large objects.
- Update Firmware: Before setup, check if your ADT camera has any firmware updates available to ensure optimal performance.
- Secure Wi-Fi Network: Use a secure Wi-Fi network with strong encryption (like WPA2) to prevent unauthorized access.
Troubleshooting Common Issues:
- Camera Not Connecting to Wi-Fi:
- Restart your camera and router.
- Check if the Wi-Fi network name (SSID) and password are entered correctly.
- Ensure the camera is in range of the Wi-Fi signal.
- Camera Offline After Wi-Fi Change:
- Reset the camera to factory settings and reconnect to the new Wi-Fi network.
- Verify that the new network doesn’t block devices like security cameras.
- Poor Video Quality or Lag:
- Check your internet speed; a minimum upload speed of 2 Mbps is recommended for HD video.
- Reduce the distance between the camera and the router or use a Wi-Fi extender.
- Camera Not Detected in ADT App:
- Ensure your smartphone is connected to the same Wi-Fi network as the camera.
- Reinstall the ADT app and try adding the camera again.
- Frequent Disconnections:
- Avoid placing the camera near devices that can cause interference, like microwaves or cordless phones.
- Check for physical obstructions that might block the Wi-Fi signal.
By following these setup tips and troubleshooting steps, you can ensure a smooth and efficient experience when connecting your ADT camera to a new Wi-Fi network. If issues persist, consider reaching out to ADT customer support for further assistance.
Frequently Asked Questions
1. Can I connect my ADT camera to a 5 GHz Wi-Fi network?
It depends on your specific ADT camera model. Some models only support 2.4 GHz networks, while others are compatible with both 2.4 GHz and 5 GHz frequencies. Check your camera’s specifications for details.
2. What should I do if my ADT camera keeps losing its Wi-Fi connection?
Ensure that the camera is within a good range of your Wi-Fi router. If the problem persists, try resetting your camera and router, or consider using a Wi-Fi extender to strengthen the signal.
3. How can I reset my ADT camera to factory settings?
Most ADT cameras have a reset button. Press and hold this button for about 10-15 seconds. The camera’s lights will typically flash, indicating that it is resetting. Refer to your camera’s user manual for specific instructions.
4. Can I connect multiple ADT cameras to the same Wi-Fi network?
Yes, you can connect multiple ADT cameras to the same Wi-Fi network. However, ensure that your network has sufficient bandwidth to support the additional devices without compromising video quality.
5. What do I do if I get an error message when trying to connect my ADT camera to Wi-Fi?
First, verify that you’re entering the correct Wi-Fi credentials. If the issue persists, restart both your camera and Wi-Fi router. If the problem continues, contact ADT customer support for further assistance.
Conclusion
Connecting your ADT camera to a new Wi-Fi network involves resetting the camera, adding it to the ADT app, and configuring it to connect to the new network. Always ensure your new Wi-Fi network is functioning correctly before connecting your camera. If you encounter any issues during the process, consult your camera’s user manual or contact ADT customer support for assistance.
If you are interested in more articles like this, here’s one about 4 ways to secure your home with smart technology from our resources at Security Forward.
![Photo of Best Wireless Security Cameras [2024]](https://www.securityforward.com/wp-content/uploads/2022/09/What-are-the-Best-Wireless-Security-Cameras-390x220.jpg)
![Photo of Best Wired Security Cameras [2024]](https://www.securityforward.com/wp-content/uploads/2022/09/What-is-the-Best-Wired-Security-Cameras-390x220.jpg)
